Showroom open today 9am-5pm, Get directions here
Call us Now on 01772 651615
Expert Guide: Repairing Granite Countertops
- admin
Granite countertops are renowned for their exceptional durability and resistance to scratches, yet they are not invulnerable to damage. Cracks can occasionally develop despite granite’s robust nature, often indicating issues with the installation process, although other factors may also be at play.
While professional assistance is advisable for repairing cracks or chips in granite, some do-it-yourself methods can be considered.
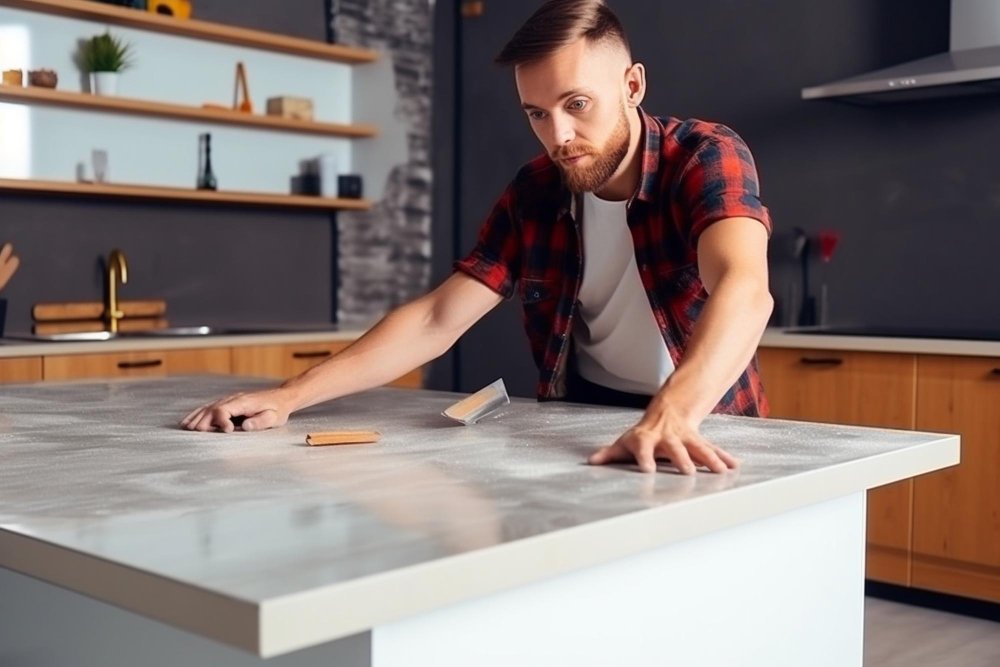
Assessing the Damage to Your Granite Worktop
Begin the process of repairing your granite countertop by conducting a thorough examination to assess any potential damage. Carefully inspect the surface for signs of chips, cracks, stains, or other imperfections that require attention.
Once you’ve identified the issues, it’s essential to gauge their severity—is the damage merely cosmetic, or does it extend deeper into the structure? This evaluation will guide you in selecting the most suitable repair method and determining whether professional expertise is necessary.
Prepare yourself with the appropriate tools and materials tailored to the specific nature of the damage. Being well-equipped ensures you can effectively address the issues and restore your granite worktop to its original beauty.
How to Remove Stains from Granite Worktops
Following are a few of the types of stains and their respective cleaning methods:
Removing Mustard and Food Stains
Hydrogen peroxide is effective against most food stains:
- Mix hydrogen peroxide with baking soda to create a paste.
- Apply the paste over the stain, cover with plastic wrap secured with masking tape, and leave for a day.
- Clean off the paste with a damp sponge or cloth and dish soap and water.

Removing Water Rings and Hard Water Stains
Water rings and hard water stains can mar the beauty of granite countertops, but they can be remedied with simple steps:
- Initially, gently clean the stain using a granite-safe cleaner or a mild mixture of dish soap and water and a soft-bristled brush. Rinse thoroughly and allow to dry.
- If the stain persists, create a paste with baking soda and water. Apply this paste to the stain and gently scrub with a soft brush, subsequently rinsing and drying the area.
- For stubborn hard water stains, create a thicker paste of baking soda and water, apply it generously to the stain, cover it with plastic wrap, and leave for 24 to 48 hours. Remove the paste with a wet cloth or plastic scraper, ensuring that it does not damage the countertop sealant.
- If mineral deposits remain, cautiously use a single-edged razor blade to scrape off the remaining buildup gently.
Removing Coffee and Tea Stains
For organic stains like coffee and tea, a mixture of baking soda and hydrogen peroxide works wonders:
- Mix baking soda and hydrogen peroxide to form a paste.
- Apply the paste generously over the stained area, cover it with plastic wrap secured with masking tape, and let it sit for 24 hours.
- Remove the plastic wrap and clean the area with a damp cloth, using dish soap and water for a thorough cleaning.
Removing Oil and Grease Stains
Oil and grease stains are common in kitchens but can be effectively handled with a baking soda poultice:
- Create a thick paste by mixing baking soda with water until it forms a consistency similar to toothpaste.
- Apply the baking soda paste over the stain, cover with plastic wrap, and secure it with masking tape. Leave for at least 24 hours.
- Remove the plastic wrap and gently clean off the plaster with a plastic scraper or wet rag. Clean the area with dish soap and water to finish.
Removing Rust and Copper Stains
Rust stains can be challenging but manageable with the right method:
- Sprig three to four per cent of hydrogen peroxide on the strained area, gently scrubbing with an abrasive sponge or a soft brush.
- Allow the solution to sit for 24 hours, then clean the area with water and dish soap.
Removing Wine and Juice Stains
Wine and juice stains require a robust cleaning approach:
- Mix one-third cup of bleach with a gallon of water, using rubber gloves when handling bleach.
- Spread over the solution to the stain with the help of a sponge and let it sit for five minutes.
- Get the area clean with water and dish soap, ensuring thorough rinsing and air drying.
Removing Inks and Dyes
For stains from inks and dyes, tailor your approach based on the colour of your granite:
- Apply the acetone or 20% hydrogen peroxide on a cotton swab on the strained area and wipe with a sponge or a damp cloth.
- Repeat until the stain lifts, then clean with dish soap and water.
By following these tailored methods, you can effectively restore the pristine appearance of your granite countertops, ensuring they remain beautiful and resilient for years to come.
How to Repair Chips on a Granite Worktop
Repairing chipped or cracked granite countertops requires careful attention and the right materials. Here’s a guide to effectively restoring your countertop’s appearance:
- Prepare the Area: Before beginning the repair, ensure the surface around the chip is clean and dry to prevent trapping debris.
- Apply Color-Matched Gel Epoxy: Use masking tape to outline the chip and guide the application of gel epoxy. Choose a colour that matches your granite or mix additives for a speckled effect. Apply enough epoxy to overfill the chip slightly.
- Use Hardening Products: Spray a hardening product over the epoxy and remove excess spray from the surrounding area.
- Allow Drying Time: Follow the manufacturer’s instructions for drying time. Consider using a Cyanoacrylate glue accelerator to speed up the process, but use caution with light-coloured granite.
- Remove Excess Epoxy and Polish: Once dry, carefully remove the masking tape and use a razor blade to level the epoxy with the countertop. Polish the area with sandpaper or steel wool for a smooth finish, then apply a granite polisher or sealer.
How to Fix Cracks on a Granite Worktop?
Understanding the nature of cracks in granite countertops is crucial before deciding on repair measures. Here’s an overview of the two main types of cracks:
Hairline Crack
Hairline cracks are subtle and often go unnoticed due to their minimal size and lack of separation. These cracks typically form around sinks or areas where the granite is thinner, often as a result of the installation process or natural settling. Fortunately, hairline cracks generally do not worsen over time and do not typically affect the countertop’s functionality. While they may not necessitate immediate repair, additional support under the countertop could be considered for added stability.
Separated Crack
A separated crack is visibly and physically noticeable, featuring a distinct gap or lip along its length. These cracks occur from significant impacts, heavy pressure on the countertop, or shifts in the underlying foundation. Unlike hairline cracks, separated cracks require prompt repair to prevent further damage. Neglecting such cracks can render the countertop unusable and potentially hazardous.
To effectively repair a crack in your granite countertop, the following is the step-by-step guide:
- Prepare the Surface: Ensure the cracked area is thoroughly clean and completely dry. Proper surface preparation is crucial to ensure the epoxy adheres effectively and achieves a smooth finish.
- Measure and Mix Epoxy: Measure equal parts of epoxy resin and hardener, typically in a 1:1 ratio. Mix them thoroughly in a disposable container. Optionally, add a small amount of tint to match the granite colour if needed. Stir until the tint is evenly distributed.
- Apply the Epoxy: Apply the mixed epoxy carefully into the crack or damaged area using a putty knife or spatula. Ensure the epoxy fills the crack and is slightly above the surface level of the countertop.
- Tape the Area: If necessary, apply painter’s tape around the repaired area to shape the epoxy and prevent excess from spreading. Allow the epoxy to dry as per the manufacturer’s instructions, typically for 30-45 minutes.
- Remove Excess Epoxy: Once the epoxy is dry and firm to the touch, carefully peel off the painter’s tape. Use a putty knife or razor blade to scrape off any excess epoxy, ensuring the surface is smooth and flush with the countertop.
- Apply Granite Sealer: After ensuring the epoxy has dried completely, apply a granite sealer over the repaired area to enhance the finish and protect the countertop.