Showroom open today 10am-2:30pm, Get directions here
Call us Now on 01772 651615
How to Cut Quartz Worktops? A Comprehensive Guide
- admin
- June 28, 2024
Quartz worktops are ideal for modern kitchens and bathrooms due to their durability, ability to withstand wear and tear, and attractive appearance.
However, cutting quartz is only sometimes simple and easy. It must be done carefully and accurately using the proper tools and safety measures. Here is a comprehensive guide on how to cut quartz worktops using the right tools and techniques.
Tools and Materials Needed
Prior to beginning, collect all required equipment and supplies:
- Diamond saw blade
- Masking tape
- Gloves, hard hats, and other personal protection equipment.
- Straightedge or ruler
- Diamond-beveled angle grinder.
- Polishing pad
- Steel holdfasts and stable frame for the work surface.
How to Cut Quartz Worktop?
Before cutting a quartz countertop, it’s important to master two fundamental types of cuts: straight cuts and curved cuts. Using these methods hand-in-hand may enable one to achieve a marble-like quartz countertop.
Curved cuts
Shaping the quartz worktop with curves creates attractive and sophisticated designs that support the needs of any kitchen. For curved cutting, you may need a jigsaw or circular saw if the slab is large. These will assist you with each unit of curved cut worktops that can become a focal point of interior design.
Straight Cuts
Most countertops are also rectangular and have smooth, sharp edges; therefore, you will only need to cut along straight lines. For straight cutting, you may need a rotating circular saw or a hand-held type of plunge circular saw if the slab is large. These will assist in the cutting process to make the cuts neat and straight.
Step-by-Step Guide to Cut Quartz Worktops
Here is a step-by-step guide for making a reliable cut-through quartz:
Step 1: Preparation
To avoid any injuries while cutting the concrete pipes, one has to be well prepared. Start by setting up your workspace:
- Ventilation and Cleanliness: It is always advisable to create enough ventilation in the workspace to remove dust and other debris. Clean areas can also prevent accidents.
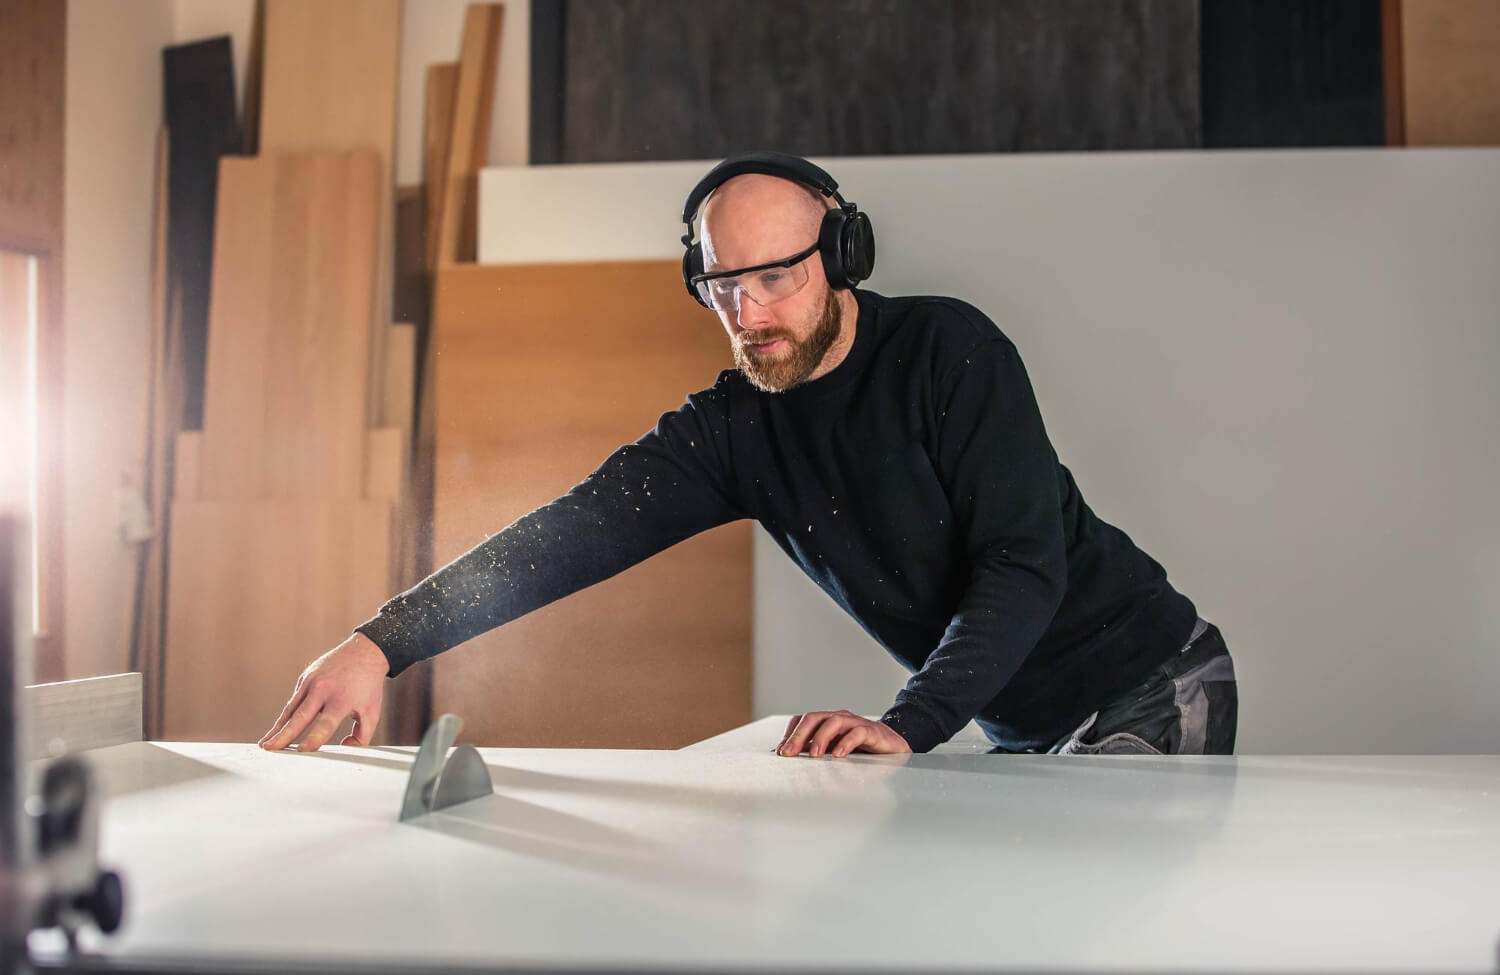
- Safety Gear: Prepare and wear safety gear. Goggles will save you from injuries caused by shards and dust; gloves will prevent cuts, and ear protection will prevent damage to your hearing due to the noise of cutting.
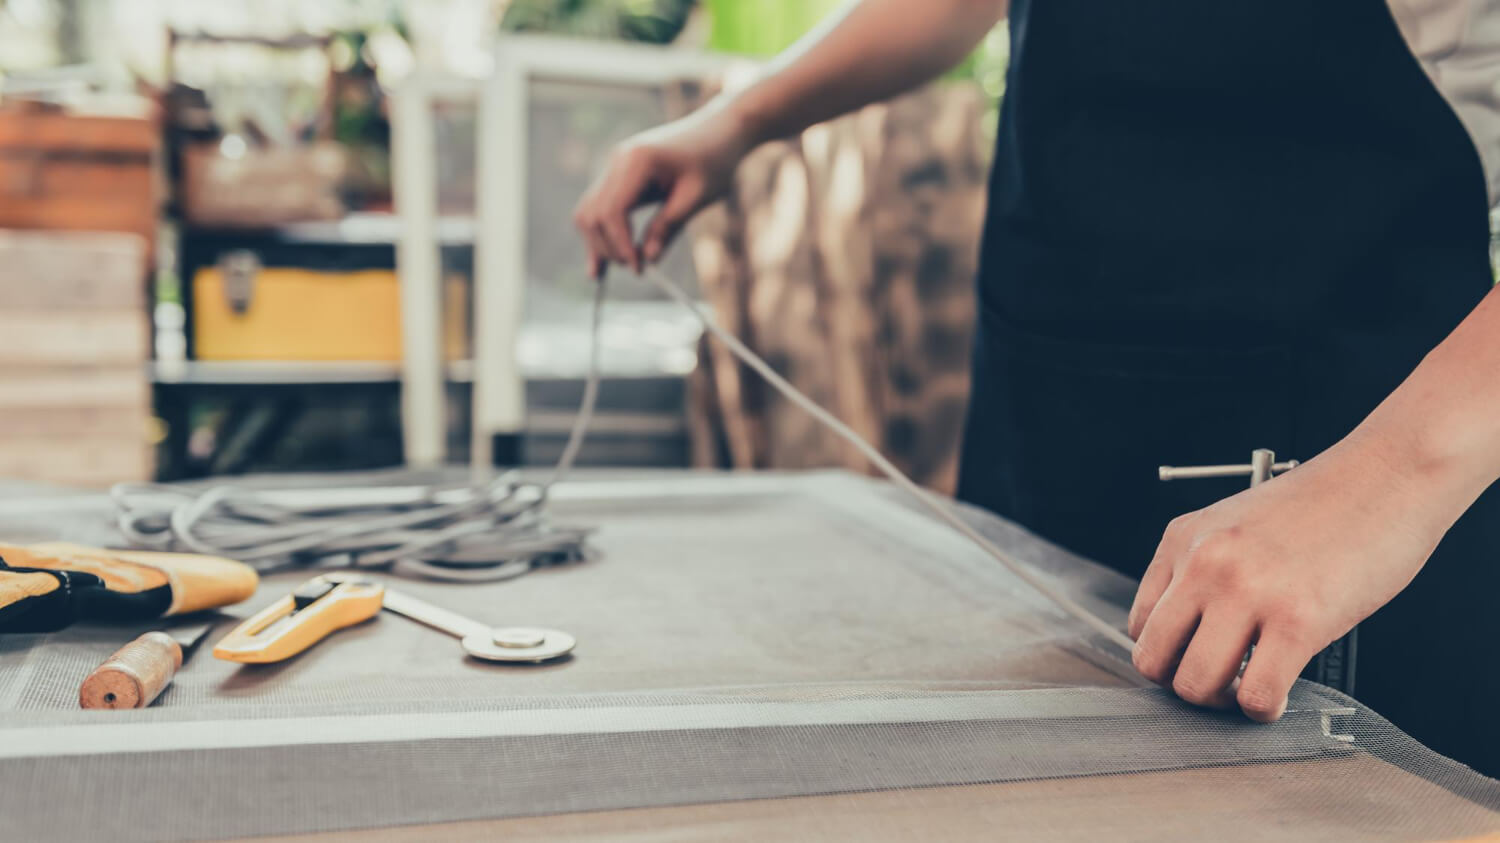
- Support: Support the quartz worktop on a stable, flat surface using the clamps. Care is essential to prevent the quartz stones from slipping or toppling over during cutting.
Step 2: Measure and Mark
Accurate measurements are vital for a precise cut:
- Measure the Cutting Line: Measure with tape to determine where to cut the quartz worktop. Measure twice to avoid mistakes.
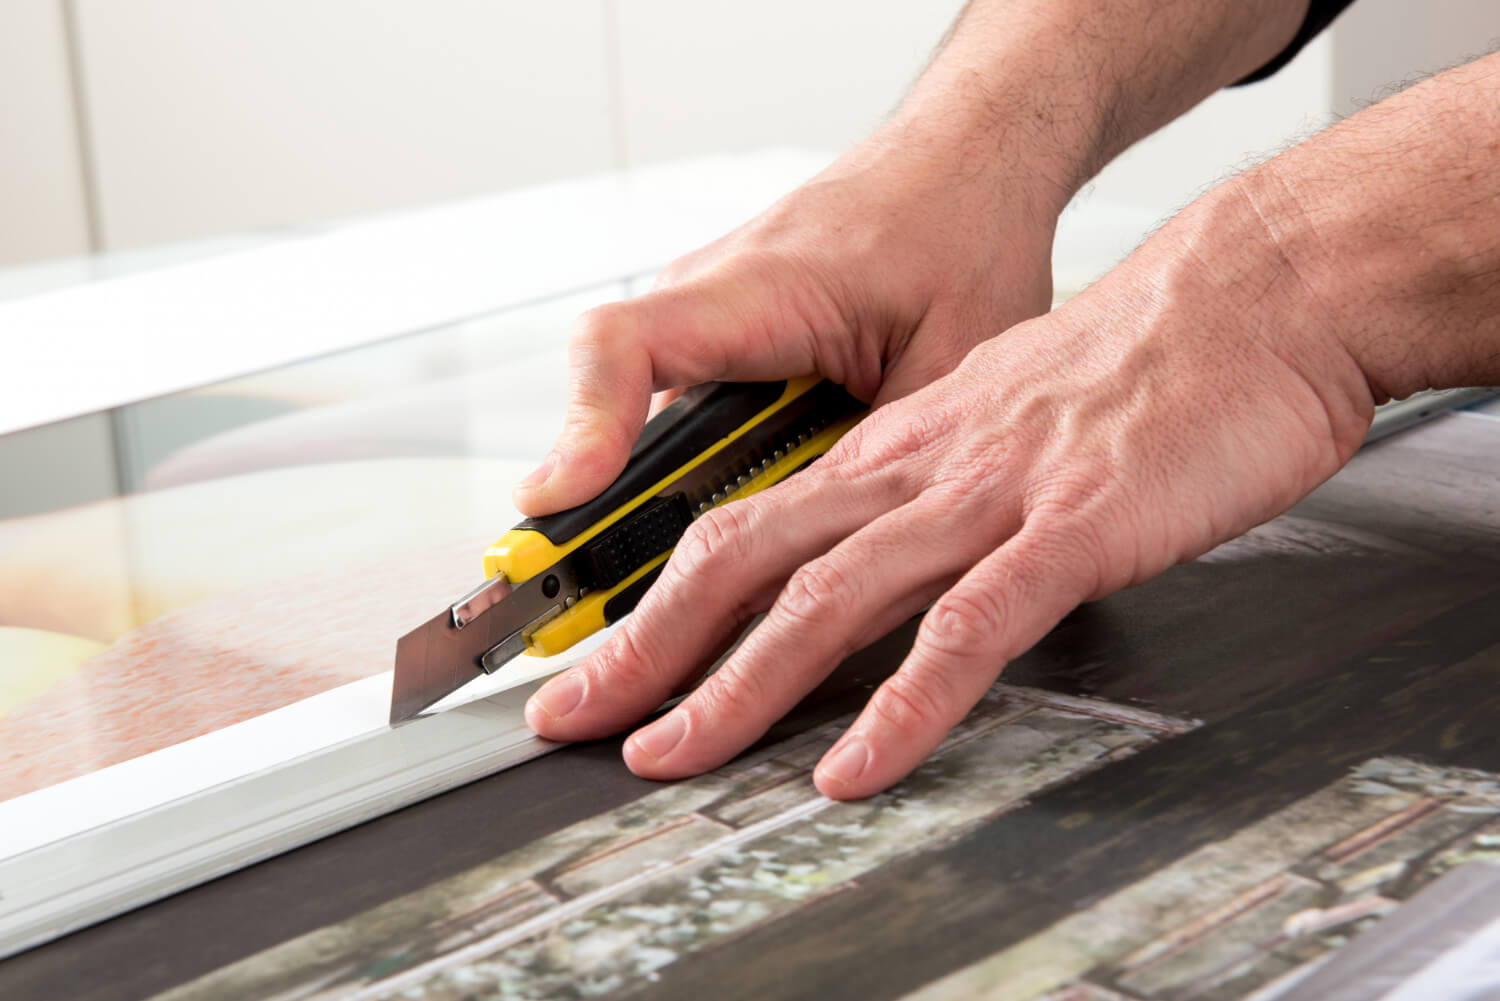
- Mark the Line: Mark cutting lines on the surface of the quartz with a straightedge or a ruler. It is advisable to apply masking tape along this line to protect the wood from chipping and clearly define the line to be sawed.
Step 3: Cutting the Quartz
Cutting quartz requires patience and precision:
- Attach the Diamond Blade: The saw must be equipped with a diamond rim since quartz is too hard for common saws. Make sure that the blade is properly fixed on the saw and in good working condition.
- Align and Cut: Place the blade of the table saw at the marked line. Begin sawing gently, gradually increasing, and consistently. Over-eagerness can cause accidents.
- Continue the Cut: Keep making cuts on the marked line until you have removed all the access material. It is also important to take breaks if you find that you have lost control and are no longer as precise.
Step 4: Grinding the Edges
The quartz’s edges will be uneven and sharp after cutting:
- Cautiously Grind: Use a grinder with a diamond blade to carefully relieve the sharp edges. Cut the quartz slowly and gradually to avoid damaging it.
- Grind Close to the Tape: Cut the edge as close as possible to the tape to ensure a smooth finishing line. It will help achieve a professional finish.
Step 5: Polishing the Edges
Polishing is the final step to ensure your quartz worktop looks polished and professional:
- Smooth the Edges: Use a polishing pad to level off the rough raised curve. Polishing is the final process of applying the required amount of smoothness to the quartz.
- Check the Finish: Refine the edge once again and inspect it after polishing to ensure uniformity. Polish more, if necessary, to achieve the required lustre.
Safety Considerations
Cutting quartz is not only difficult but also potentially dangerous:
- Wear Safety Gear: Personal safety should always be observed by wearing goggles, gloves, and ear protectors.
- Proper Support: When cutting the quartz worktop, it is important to support the whole worktop at all times to avoid any injuries.
- Use the Right Tools: Choose tools that are specifically used for quartz. Choosing unnecessary tools may cause undesirable consequences and bad outcomes.
Why Hire a Professional?
Although this tutorial offers a thorough overview of cutting quartz worktops, it is usually better to leave this process to the experts for a number of reasons:
- Experience and Expertise: Experienced people know how to cut in order to have a perfectly finished product.
- Specialised Tools: They have better equipment to ensure safety and precision in their work.
- Risk of Injury: Quartz is not easy to handle and is used as a construction material. However, professionals are experienced and trained to handle it safely.
Conclusion
Quartz worktops require an extreme level of precision and planning, from accurate measurements to careful cutting and polishing. While an individual can learn to do this on their own, there are risks involved, and experts are best suited for these jobs.
To avoid mistakes during installation and achieve aesthetic appeal to your space, hire a professional who understands properly how to handle quartz worktops.