Showroom open today 9am-5pm, Get directions here
Call us Now on 01772 651615
How to Properly Drill Your Quartz Countertop?
- admin
Drilling into a quartz countertop can seem like a burdensome task, but with the proper techniques and tools, it’s entirely doable. Whether you’re installing new fixtures or customising, understanding the proper way to drill into quartz ensures clean, precise holes and helps avoid damage to your surface. This article will walk you through the necessary steps to help you drill into your quartz countertop safely and effectively.
Understanding Quartz Worktops: Risks and Considerations for Drilling
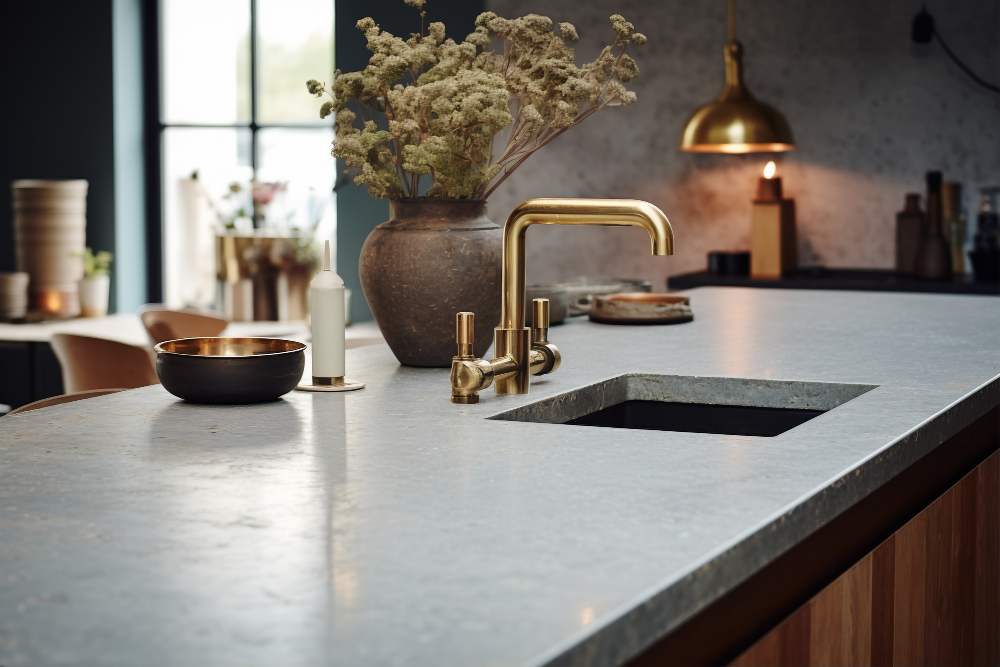
Before drilling into a quartz countertop, it’s good to know what quartz is. This is a man-made stone, composed of approximately 90-95% ground quartz, bonded with resin and coloured with pigments to enhance its appearance. Since it’s made in factories, it can be designed in many ways, making it popular with homeowners and designers. Quartz is very durable, which is a good thing, but it also makes changing its surface difficult. Drilling into quartz usually requires professional skill, but if you have the right tools and experience, you can do it yourself. Just be careful, because mistakes can be costly. This post covers everything you need to know about drilling into quartz.
Materials & Safety Precautions
Before starting your drilling project, thorough preparation is crucial for both success and safety. Never try to drill quartz without first collecting these essential tool items.
Tools & Materials Needed
- Spray bottle containing cold water for cooling and lubrication
- Bucket or container to collect water runoff
- A diamond drill or core bit that is appropriately sized for your project
- Measuring tape and marker for precise placement
- Painter’s tape to avoid slipping and protect surfaces
- Modeling clay or plumber’s putty to create a water dam
- HEPA-filter vacuum for dust collection
Important Safety Measures
Before drilling into quartz countertops, ensure you follow these safety measures:
- Wear gloves, a mask, and safety glasses to protect your hands and eyes from potentially dangerous quartz dust and debris.
- Work in a properly ventilated area and wear a mask, especially indoors, to prevent quartz dust inhalation.
- Keep your drill cool by gently applying water. This helps prevent it from overheating and cracking, and also extends the life of your diamond drill bit.
- Check beneath the countertop to ensure there are no wires, pipes, or supports in your drilling area.
Guide on Drilling Through a Quartz Worktop – Step-by-Step Instructions
Once you’ve familiarised yourself with the materials and collected all the necessary supplies, it’s time to start drilling. Carefully follow these steps for achieving the best results.
Prepare the Working Area
Before beginning to drill, prepare the work area and set up the counter to minimise cleanup afterward. Position a bucket directly beneath the spot on the countertop where you’ll drill. This bucket collects the water used to lubricate the drill bit, cools the tip, and helps clear away debris, making your drilling experience smoother and more efficient.
Place the Template
Position the drilling template on the countertop at your desired hole location. Keep it stable with one hand. Then, insert the drill bit and begin drilling. For greater accuracy, use a plywood guide with a pre-drilled hole aligned with your diamond hole saw. Placing this guide over the spot helps maintain the bit’s stability and results in cleaner, more precise cuts in quartz.
Work Slowly
Take your time when drilling, and don’t rush. Operate the drill slowly and steadily, letting it do the work. Don’t press down hard; just guide it. Pause regularly to let water reach the drill bit and keep it cool. Using water improves the drill’s performance and prevents overheating damage.
Remove the Template
Stop drilling and remove the template once the cut reaches about ¼ inch deep. The initial groove is sufficient to prevent the bit from wandering, but taking out the template at this point enhances water flow and visibility.
Keep the Drill Well Lubricated
Create a dam around the hole using some modeling clay, then fill it halfway with water. This little setup will help keep the bit nicely lubricated. Just make sure the water remains clear enough so you can keep an eye on how things are going.
Continue to Work Slowly
Pump the drill and add water while drilling to maintain lubrication. Drill slowly to stay safe. Take short breaks often to cool the drill bit, especially if the water gets warm. Stop regularly to check how deep you’ve gone and see how you’re doing.
Reduce Speed
As you approach the end of the countertop, roughly 80% through, you’ll notice a decrease in your effort or progress resistance. This is a crucial point where mistakes often happen. At this stage, let the drill barely touch the surface to cut the hole, which helps prevent chipping or cracking the quartz.
Clean Up & Finish
After drilling the hole, clean the area well. Clear away any clay or putty, clean off the slurry, and allow the surface to dry thoroughly. For a smooth finish, gently sand the edge of the hole with fine-grit diamond sandpaper made for stone.
Conclusion
Properly drilling your quartz countertop demands careful attention to detail, the correct tools, and suitable techniques to prevent damage. By following the proper steps and safety precautions, you can ensure a clean and precise outcome, maintaining both the beauty and functionality of your countertop for years to come.